
Glazing is a difficult skill. It can take much time and practice. A beautiful glaze, however, can truly enhance your pottery. It makes it look like a museum piece. For me, glazing has been the hardest part of working with clay. It has also been the most rewarding. Once you learn how to glaze Japanese style pottery properly, it will change your craft. You will see new artistic possibilities.
The Philosophy of Japanese Glazing
Japanese glazing has a deep philosophy. It values imperfection and simplicity. The concept of wabi-sabi is important here. It finds beauty in nature and asymmetry. A glaze should not look too perfect. It should have a natural, earthy feel. This approach makes each piece unique. No two pieces are ever the same. The glaze tells a story. It reflects the artist’s hand. This is a key part of Japanese ceramic art.
Preparation for Glazing
Proper preparation is very important. Your piece must be bisque-fired first. This makes the clay strong. It also makes it porous. This helps the glaze to stick. Make sure your pottery is very clean. Dust or dirt will ruin the glaze. You can use a damp sponge. Clean the entire surface of the piece. Proper cleaning ensures a smooth finish. It will prevent any unwanted bumps.
Types of Glazes Used
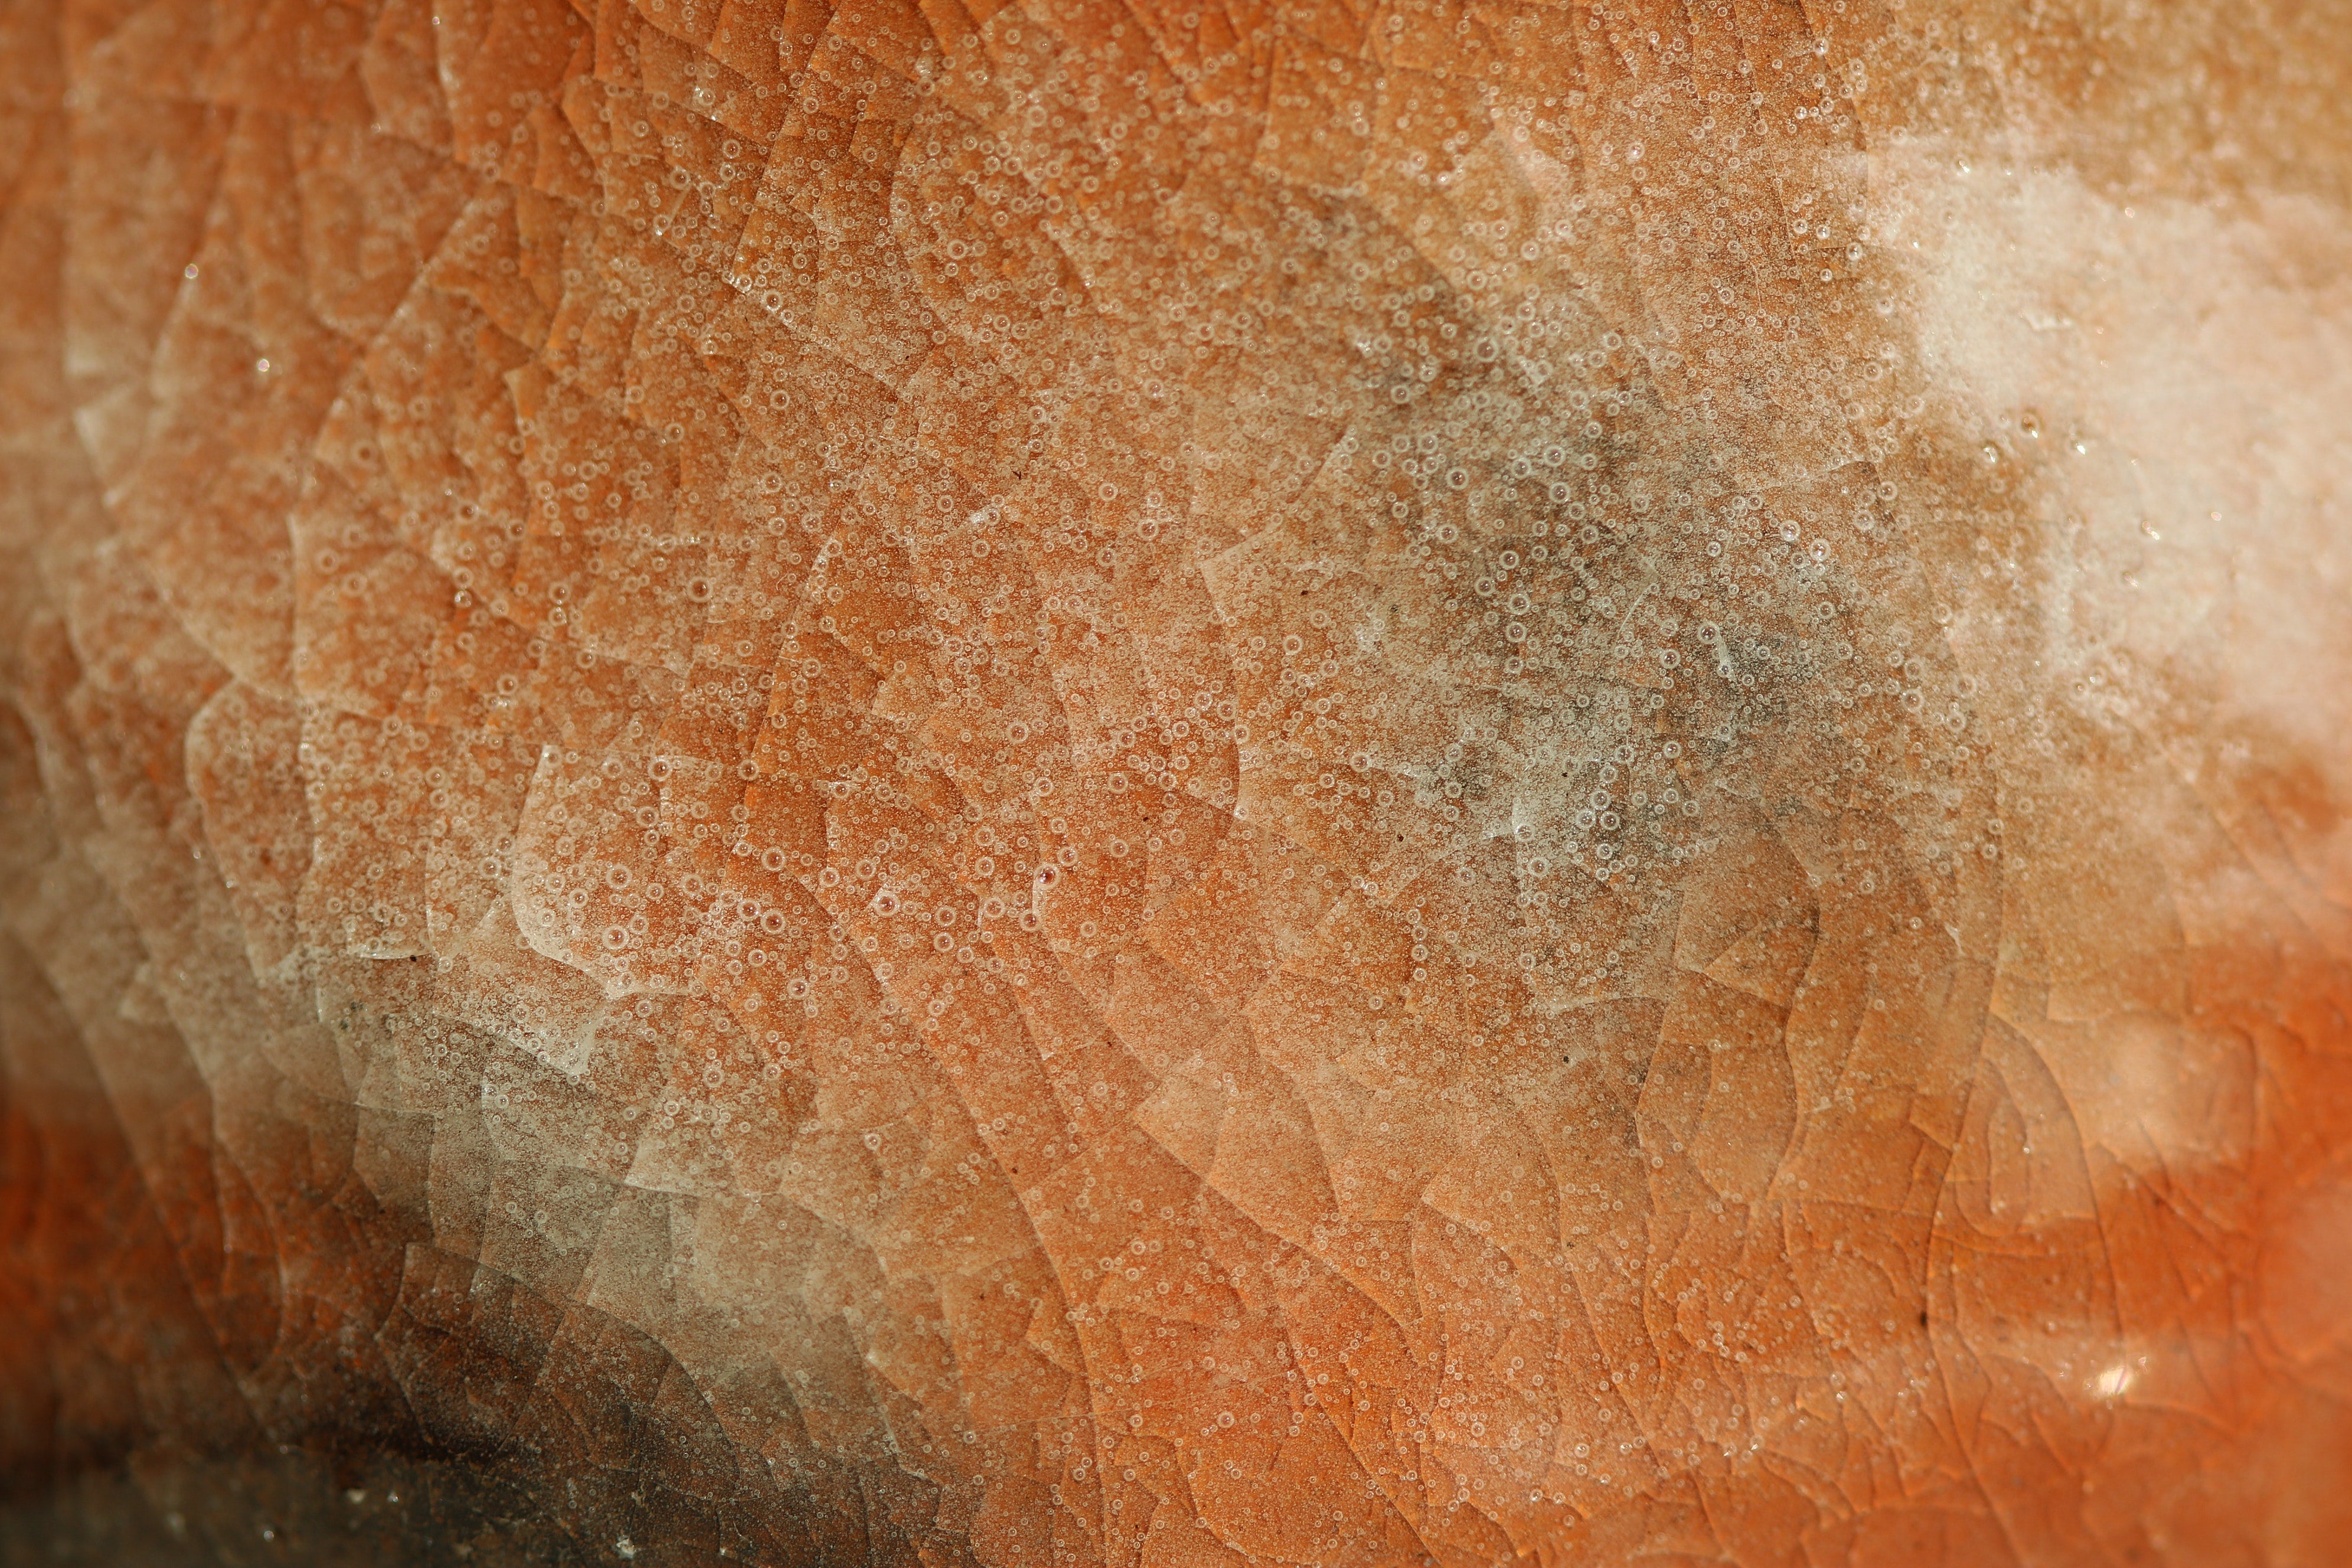
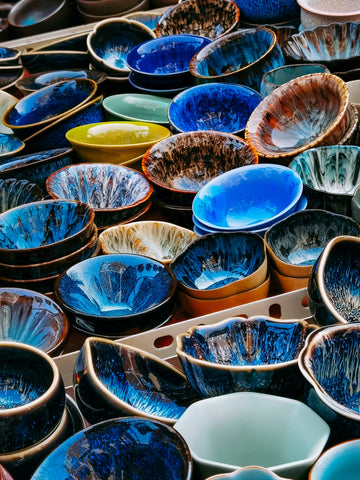
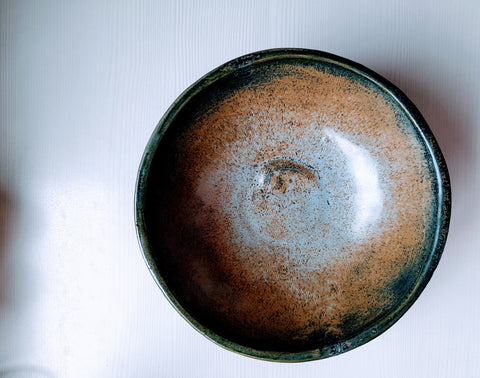
Many types of glazes exist. Each one has a different effect. Some common Japanese glazes include Shino and Temmoku. Shino glaze often has an orange color. It can create beautiful effects. Temmoku glaze is very dark. It can produce a glossy, black finish. Ash glazes are also very popular. They are made from wood ash. They give the pottery a very natural look. Knowing these types is key.
Using Traditional Glazing Tools
Traditional tools are essential. You need them for proper application. A large bucket is for dipping glazes. Tongs are for holding the pottery. A hake brush is for painting. They are made of goat hair. A spritzer bottle is for spraying. You can use them to create a fine mist. Each tool has a specific purpose. Mastering them helps with your technique.
How to Glaze Japanese Style Pottery, The Techniques
There are many ways to apply glaze. Dipping is a fast method. You dip the piece into the glaze bucket. Pouring is good for large pieces. You pour the glaze over the pottery. Brushing gives you more control. You can create different designs. Spraying is for a smooth, even finish. Layering different glazes creates unique effects. You can mix colors and textures.
How to Get a Unique Texture on Your Pottery
A unique texture makes your work stand out. You can achieve this with layering. Apply one glaze, then another. The way they interact is special. You can also mix different glazes together. This creates new colors and effects. Another method is to add a textural element. This can be done before the firing process. You can create rough or smooth areas. This gives the glaze a place to pool.
Drying and Firing After Glazing
Drying after glazing is a key step. The glaze must be fully dry. If it is not, it can bubble or crack. This will ruin your piece. Place the pottery on a wire rack. This allows for good air flow. Firing is the final step. The kiln temperature is very important. It must be just right for your glaze. This process requires great care.
The Effect of Different Techniques on Your Pottery
Different techniques produce different results. Dipping gives a very even coat. It is good for a clean, simple look. Pouring can create interesting drips. It shows a more natural flow. Brushing leaves brush marks. This adds a sense of the artist's hand. Spraying gives a very professional look. It provides a smooth surface. Each method has its own charm.
How to Choose Your Glaze
Choosing your glaze is a fun process. It should match the clay body you use. You need to know the firing temperature. The glaze must fit the clay. It also depends on the final look you want. Do you want it glossy or matte? Do you want a light or dark color? Your final goal should guide you. Choose a glaze that reflects your artistic vision.
Tools for Glazing Pottery
Here are some essential tools for glazing. They will help with your work.
-
Tongs: For holding your pottery piece while you dip it into the glaze bucket. They allow you to apply the glaze evenly without touching the surface. This is critical for getting a professional finish.
-
Whisk: For mixing your glaze. It helps to make sure that the glaze is consistent and smooth. This prevents clumps and ensures an even coat on your pottery.
-
Glaze Brushes: For applying glaze by hand. They come in many sizes and shapes. They are perfect for detailed work or for creating different textures and patterns on your piece.
-
Sieve: For straining your glaze. It removes any lumps and impurities. This step is very important. It gives you a smooth and clean glaze every time.
-
Sponge: For cleaning your pottery. You can use a damp sponge to remove any dust or fingerprints. This prepares the surface for a perfect glaze application.
Using these tools properly will greatly improve your work. They help you achieve a high-quality finish. Your pieces will look more professional. This is a key part of your journey as a potter.
<table style="width: 100%; border: 1px solid #000;"><tbody><tr><th>Firing Temperature</th><th>Type of Glaze</th><th>Common Effect</th></tr><tr><td>Low-Fire (1700-2000°F)</td><td>Earthenware Glaze</td><td>Bright colors, less durable surface</td></tr><tr><td>Mid-Range (2100-2300°F)</td><td>Stoneware Glaze</td><td>Vibrant colors, high durability, food-safe</td></tr><tr><td>High-Fire (2300-2400°F)</td><td>Porcelain Glaze</td><td>Subtle colors, very strong and non-porous</td></tr><tr><td>Wood-Fire (up to 2500°F)</td><td>Natural Ash Glaze</td><td>Unique, unpredictable effects, natural look</td></tr></tbody></table>
This table shows how firing temperature affects the final look. It helps you choose the right glaze for your project. A low-fire glaze is great for bright, colorful pieces. It is less durable. A high-fire glaze is perfect for strong, functional pieces. It has a beautiful, subtle look. The temperature you choose depends on your goal.
Conclusion
Glazing is a rewarding art form. It requires patience and practice. Mastering it will transform your pottery. It adds color, texture, and depth. Remember to prepare your pieces well. Choose the right glaze and tools. With time, you will create beautiful art. Your new skills will shine.
Frequently Asked Questions
1. What is the difference between Japanese and Western glazing?
Japanese and Western glazing have key differences. Western glazing often focuses on perfect, even coats. The goal is a uniform, flawless finish. It uses a lot of bright, vibrant colors. The final product is supposed to look machine-made. It is clean and precise. Japanese glazing, by contrast, values imperfection. The philosophy is wabi-sabi. It celebrates the natural, the simple, and the irregular. The glaze is meant to look organic. It should show the artist's hand. Traditional Japanese glazes are often earthy and muted. They have colors like gray, brown, and black. A perfectly imperfect drip or uneven texture is prized. This makes each piece a unique work of art. The Japanese artist works with nature. The Western artist tries to control it. The result is a different kind of beauty.
2. Can I use a traditional Japanese glaze on any type of clay?
You should not use a traditional Japanese glaze on just any clay. Glazes are made to fit a specific type of clay. The fit is very important. If a glaze is not a good fit, it can crack or peel. This is a common problem. It is called crazing or shivering. Most traditional Japanese glazes are made for stoneware or porcelain. They need to be fired at high temperatures. These temperatures are around 2300°F or higher. If you use this glaze on low-fire clay, it will not work. The clay will melt or the glaze will not mature. You must match the glaze to your clay body. You also need a kiln that can reach the right temperature.
3. How can I practice glazing without wasting my main pottery pieces?
Practicing glazing is a great idea. You can do this without wasting your best work. The best way is to make test tiles. A test tile is a small piece of clay. It is the same clay as your main piece. You can make a lot of them. You should prepare them the same way as your main pottery. You can apply different glazes to the tiles. You can also try different techniques. This helps you see how the glaze will look. You can try different layers and textures. You can write notes on the back of each tile. You can write the glaze name and firing temperature. This will help you keep track of your tests. You can also make a few simple test mugs or bowls. They are easy to make. They are great for trying out new ideas.
Share:
Do You Want to Buy Tenmoku Japanese Tea Bowls
When Were Tea Cups Invented in China?